
How to Protect Your Furniture During Floor Sanding
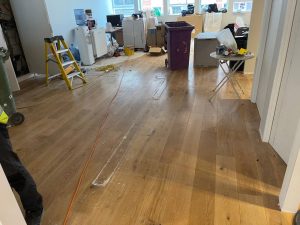
Expert Tips to Keep Your Belongings Safe While Enhancing Your London Home
Introduction
Floor sanding can significantly improve the appearance of your wooden floors, but it’s essential to protect your furniture and belongings during the process. Dust and movement can potentially damage your possessions. This guide provides practical tips on how to safeguard your furniture during floor sanding in your London home.
1. Remove Furniture from the Room
The most effective way to protect your furniture is to remove it from the room where sanding will take place. This ensures that your items are completely safe from dust and accidental damage. If you don’t have enough space to store all your furniture, consider using temporary storage solutions or moving them to a different room.
2. Cover Remaining Furniture
If you must leave some furniture in the room, cover it with heavy-duty plastic sheets or drop cloths. Ensure the coverings are securely fastened to prevent dust from getting underneath. For added protection, use painter’s tape to seal the edges of the covers.
3. Use Plastic Sheeting to Seal Off the Area
To prevent dust from spreading to other parts of your home, use plastic sheeting to seal off doorways, windows, and vents. This creates a barrier that contains the dust within the work area. Attach the plastic sheeting with painter’s tape for easy removal after the sanding is complete.
4. Protecting Larger Items
For larger items that cannot be moved, such as built-in furniture or appliances, ensure they are well-protected. Use cardboard or foam boards to shield surfaces from scratches and impact. Secure these protections with tape or straps to keep them in place throughout the sanding process.
5. Use Dust Barriers and Air Purifiers

Investing in dust barriers and air purifiers can significantly reduce the amount of airborne dust during sanding. Dust barriers can be placed around the work area to contain dust, while air purifiers help to filter out particles, keeping the air cleaner and protecting your furniture and other belongings.
6. Remove or Cover Electronics
Electronics are particularly sensitive to dust. If possible, remove them from the sanding area. If removal is not an option, cover them thoroughly with plastic wrap and ensure all vents and openings are sealed to prevent dust ingress.
7. Protecting Floors and Carpets in Adjoining Rooms
Lay down protective coverings such as cardboard or old sheets on floors and carpets in adjoining rooms. This will help prevent dust and debris from spreading when workers move in and out of the sanding area.
8. Post-Sanding Cleanup
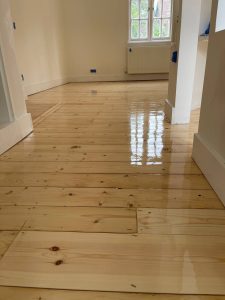
After the sanding is complete, carefully remove all protective coverings and dispose of them properly. Use a vacuum cleaner with a HEPA filter to clean up any remaining dust in the room and on your furniture. Wipe down surfaces with a damp cloth to ensure all dust is removed.


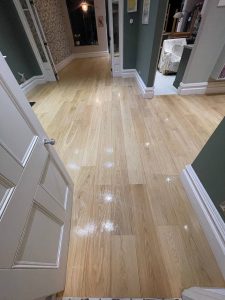
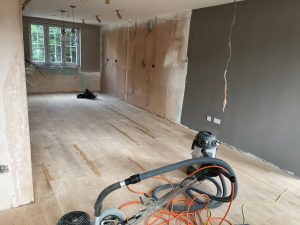

How to Achieve a Modern Look with Sanded Floors
How to Achieve a Modern Look with Sanded Floors Transforming your floors[Read more...]
Floor Board Fitting
Installing, Fitting, sanding and finishing different types of flooring takes a lot of work. when[Read more...]
Sep
The Benefits of Floor Sanding for Open House Showings
London Property Tips Home About Contact The Benefits of Floor Sanding for Open House[Read more...]
How to Incorporate Floor Sanding into Your DIY Projects
How to Incorporate Floor Sanding into Your DIY Projects For London homeowners looking to[Read more...]
The Role of Temperature and Humidity in Floor Sanding
The Role of Temperature and Humidity in Floor Sanding When it comes to floor[Read more...]
Modern Wood Finishing: Key Findings for Protecting Your Floors
Modern Wood Finishing: Key Findings for Protecting Your Floors At Alchemist Floor Sanding, we[Read more...]
Eco-Friendly Floor Sanding: Sustainable Practices for Your Home
As environmental awareness continues to grow, many homeowners in London are seeking ways to make[Read more...]
Why Professional Floor Sanding is Worth the Investment
Why Professional Floor Sanding is Worth the Investment Discover the Benefits of Hiring Experts[Read more...]
How to Prepare Your Home for Floor Sanding
Preparing your home for floor sanding is a crucial step to ensure a smooth and[Read more...]
How to Plan a Floor Sanding Project for Large Spaces
How to Plan a Floor Sanding Project for Large Spaces Planning a floor sanding[Read more...]