How to Create Custom Floor Designs with Sanding and Staining
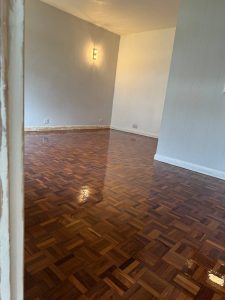
Transform your London home with unique and personalised wooden floor patterns
The Art of Custom Floor Designs
Creating custom floor designs with sanding and staining is an excellent way to add a personal touch to your London home. By combining different techniques and colours, you can achieve stunning and unique patterns that reflect your style. Here’s how to get started:
Preparation is Key
Before you begin creating custom designs, proper preparation is essential. Follow these steps to ensure a smooth and successful project:
1. Clean and Sand the Floor
Start by thoroughly cleaning your wooden floors to remove any dirt, dust, and debris. Then, sand the floors to create a smooth, even surface. This step is crucial for achieving a professional finish.
2. Plan Your Design
Decide on the pattern and design you want to create. Sketch your ideas on paper or use a design software to visualise the final look. Popular designs include chevron, herringbone, geometric patterns, and borders.
3. Gather Materials
Collect all the necessary materials, including sandpaper, staining products, painter’s tape, brushes, and stencils if needed. Choose high-quality stains to ensure vibrant and long-lasting colours.
Techniques for Custom Floor Designs
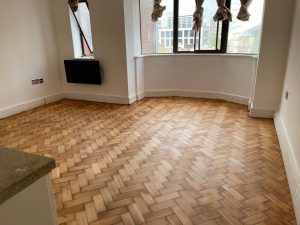
There are various techniques you can use to create custom floor designs. Here are some popular methods:
1. Geometric Patterns
Geometric patterns like herringbone and chevron are classic choices for wooden floors. Use painter’s tape to mark off the sections of the pattern and apply the stain carefully. Remove the tape once the stain is dry to reveal crisp lines.
2. Stencils
Stencils are a great way to add intricate designs to your floors. Place the stencil on the floor and secure it with tape. Apply the stain using a brush or sponge, ensuring even coverage. Lift the stencil carefully to avoid smudging.
3. Borders and Inlays
Add a touch of elegance with borders and inlays. Use contrasting stains to create a border around the room or a specific area. For inlays, consider using a darker stain to highlight certain sections of the floor.
4. Freehand Designs
If you’re feeling creative, try freehand designs. Use a brush to paint the stain directly onto the floor, creating unique patterns and shapes. This method allows for maximum creativity and personalisation.
Finishing Touches
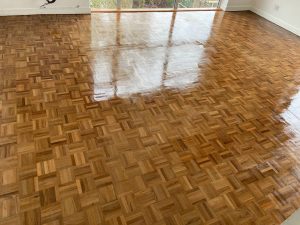
Once your custom design is complete, it’s time to add the finishing touches:
1. Apply a Protective Sealant
After the stain has dried completely, apply a protective sealant to preserve the design and protect the wood. Choose a sealant that is compatible with your stain and provides the desired level of sheen.
2. Regular Maintenance
To keep your custom floor design looking its best, perform regular maintenance. Clean the floors with a gentle cleaner and avoid harsh chemicals that could damage the stain. Reapply the sealant as needed to maintain protection.
Professional Assistance
If you’re unsure about creating custom floor designs yourself, consider seeking professional assistance. Experienced flooring specialists in London can help bring your vision to life with precision and expertise. If you need professional help, contact us today. Our team is here to assist you with all your custom flooring needs.


The Best Practices for Sanding Pine Floors
The Best Practices for Sanding Pine Floors Achieve a beautiful finish with these tips[Read more...]
Staining and Colouring
[Read more...]
Ultimate Guide to Floor Sanding in London: Everything You Need to Know
Introduction Welcome to Alchemist Floor Sanding, London’s leading floor sanding experts. If you’re considering revamping[Read more...]
Gallery 07 – Pine floor board
[Read more...]
The Benefits of Using a Professional Floor Sanding Service
The Benefits of Using a Professional Floor Sanding Service Enhance the Beauty and Longevity[Read more...]
The Best Floor Sanding Practices for Allergy Sufferers
The Best Floor Sanding Practices for Allergy Sufferers For allergy sufferers, maintaining a clean[Read more...]
The Best Practices for Sanding Oak Floors
The Best Practices for Sanding Oak Floors Expert Tips and Techniques for Achieving a[Read more...]
Engineered Wood Flooring
Choosing the finishes for your house can be the most exciting part. Wood flooring adds[Read more...]
Sep
Wood floor sealing
[Read more...]
Common Floor Sanding Mistakes and How to Avoid Them
Floor sanding is a fantastic way to rejuvenate your wooden floors, giving them a fresh,[Read more...]