Installing, Fitting, sanding and finishing different types of flooring takes a lot of work. when it’s done, all that effort is easy to forget. Now that you’ve decided on the perfect wooden floor for your room, it’s time to think about installation. Before the floorboard fitting process can being, the site conditions must be optimal. Fitting of wood flooring planks must be done at the final stage of a build. after any plastering or concrete has fully dried out, and before decorating of the room has begun
The first step is to measure and regulate the air humidity levels and moisture content of the sub-floor. The boards need to sit in the room for 4 to 7 days before fitting to acclimatize the temperature and moisture level of the room. Always try to store the wood in the area where the flooring will be installed as this will allow for perfect acclimatisation. Do not store in a damp environment, next to radiators, in any drafts or direct sunlight as these situations will affect acclimatising.

Fitting Methods
There are different methods to fit your floor which we are going to disguises with more detail.
Joist
Depending on the span between joists, solid wood boards must be at least 18mm thick to form a supporting floor, or must be installed over a layer of exterior grade plywood of at least 18mm thickness. If the joists are in poor condition, the best solution is to add a plywood or strand wood subfloor. Adding a subfloor will provide long-term stability as the weight of the wood floorboards will be more evenly distributed. To secure the wood flooring, screws or nails can be used. For nail installation, a toothed or edged nail is inserted through the board and the joist at a 45° angle to ensures the nail is completed out of sight.
screeds
A new wooden floor should be laid at right angles to the existing boards, or, if you wish to lay new boards in the same direction,a layer of plywood can be fixed between old floor and the new. Products such as Laybond or Ultrabond are great options as they are formulated to create an easily trowelled paste.
Tongue and Groove
Wooden planks milled with tongues and grooves are also installed to create a floating floor. In this case, the floorboards are fixed together by adjoining the tongues and grooves of opposing boards and placing a downward pressure to lock them into place.
B-Glue Down Method
The boards can be glue down onto plywood or flooring grade chipboard or onto concrete. Once the room has been measured, an allowance made to cover wastage, the moisture content of the sub-floor and walls checked and the sub-floors confirmed as clean, dry and flat.
Click Method
Click installation involves fixing wood floorboards to one another without directly attaching them to the subfloor to create a floating floor.
Nails Or Screws
Nailing is much faster and easier to do, rather than individually screwing each and every board. If you simply want to fit your floor and forget about it from this point on, this may be for you. Otherwise – don’t, because you never know when you may need to lift the boards again.
We do believe that screws are the superior choice here.Truth is, that even if you glue and screw your floor, the wood will still move a bit. It is part of its nature. A screw with a thread on top will provide higher overall stability but if you want to remove the board, you will have harder time unscrewing.
Directions to install the flooring
Think about the direction you want to you flooring to run before you start to install. In many cases, the direction of your flooring can change the perception of the size of a room. For example, if you have a narrow room, you can use the flooring in a horizontal direction to give the impression of it being wider. Take your time to decide which is right for your room – it’s a decision you’ll have to live with for a long time.
Diagonal
To really spruce up a very small room with minimal extra effort or materials costs, you can opt for diagonal flooring. Most commonly at a 45-degree angle, this will make your room a feast for the eyes. At as little as 10 degrees, diagonal flooring also helps tie a wall visually to one in another room.
Horizontal
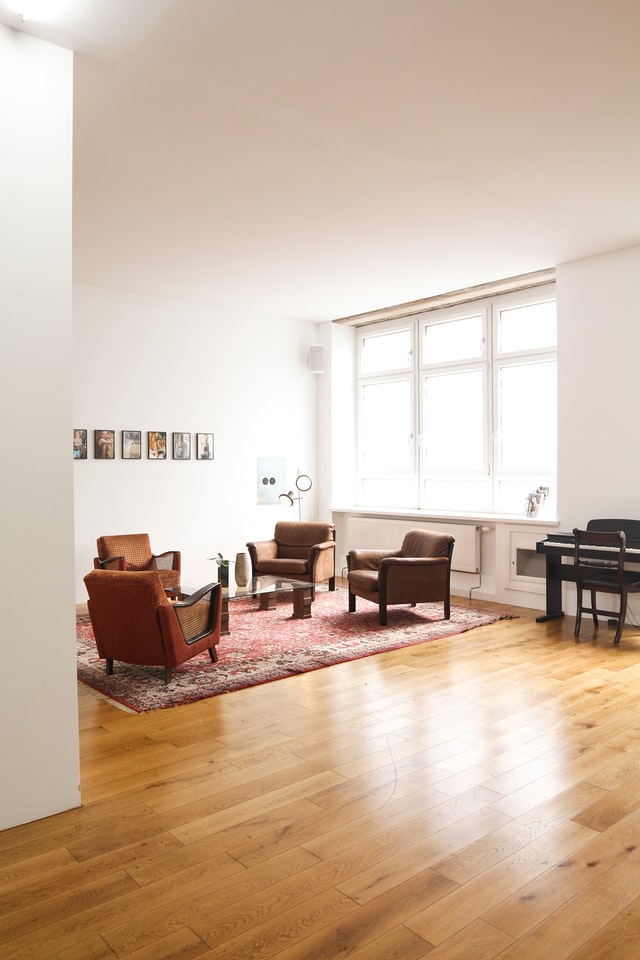
Boards laid width-wise will make the surface appear wider, avoiding a boxed-in effect at all times. To enhance this even further, make sure not to use dark colours for neither your floor or your walls, as these will make a narrow room look even narrower.
Vertical
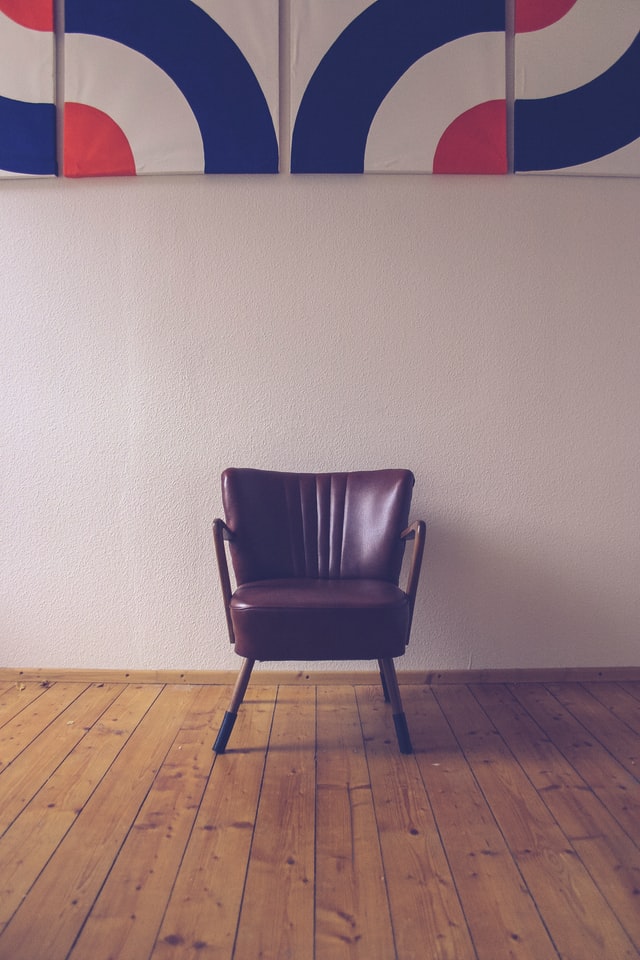
This is the way to add a sense of depth. Make the room look longer by installing your floor vertically.
Do you leave a gap between boards
If you want to reduce the risk of potentially of damaging your floorboards by working on the top of them after the flooring is laid, you can cut your boards to length, put them in place and add a spacer the height of your flooring. there can be small spaces between your skirting and boards in some areas. The best solution for a clean look is to run a small bead of ‘no more gaps’ along the junction where the skirting meets the floorboard. It is very important to leave an expansion gap around the flooring when installing it, this allows for the natural expansion and shrinkage that will occur as the wood gets warmer and colder.
Alchemist Floor Board Fitting in london
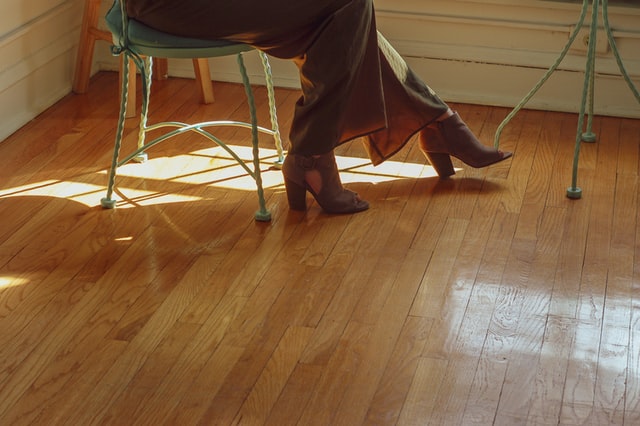
We are able to fit all wood floors from reclaimed Victorian pine, reclaimed parquet, mosaic wood floors, block, strip, engineered floors to bespoke cut and designed Versailles parquet and other geometric patterns. We provide a complete floor fitting service, from the procurement of the flooring, normally at cost price, the preparation and remedial repair of any joists or subfloor.
For expert floor sanding and Floor Board Fitting in London and UK, you can rely on Alchemist to deliver exceptional results. Get in touch with us today to learn more, or to arrange for a quotation – we’re here to help. Simply give us a call on 07379393270 .



The Benefits of Professional Floor Sanding for Offices
The Benefits of Professional Floor Sanding for Offices Maintaining the floors in your office[Read more...]
The Importance of Consistent Maintenance for Sanded Floors
The Importance of Consistent Maintenance for Sanded Floors Maintaining the beauty and durability of[Read more...]
Gallery 08 – Sand and varnish finishing HERRINGBONE wooden floor
[Read more...]
Sep
Carpet removal
[Read more...]
The Best Hardwood Species for Floor Sanding
The Best Hardwood Species for Floor Sanding Enhance Your London Home’s Floors with the[Read more...]
How to Plan a Floor Sanding Project for Multi-Story Homes
How to Plan a Floor Sanding Project for Multi-Story Homes Planning a floor sanding project[Read more...]
How to Create a Vintage Look with Floor Sanding and Finishing
How to Create a Vintage Look with Floor Sanding and Finishing Creating a vintage[Read more...]
Floor sanding and renovation and installation services in Southwark
Southwark: A Historic Heart of London Southwark is a vibrant and historic borough located on[Read more...]
The Pros and Cons of Matte vs. Gloss Finishes
The Pros and Cons of Matte vs. Gloss Finishes Choosing the right finish for[Read more...]
Parquet Flooring
With parqueting bring nature into your home. Parquet flooring is different than regular wood flooring,[Read more...]